
 Business License

Cast iron gate factory installation process
**Installation Process of Cast Iron Sluice Gate**
### 1. Preparation - Verify that the cast iron sluice gate, accessories (e.g., hoist, gaskets, anchor bolts), and installation tools (e.g., crane, level, wrench) are complete and undamaged. - Check the installation site: Ensure the foundation (concrete or steel structure) is clean, level, and meets the design dimensions. Remove debris, dust, or obstacles that may affect installation.
### 2. Foundation Inspection - Confirm the foundation embedded parts (e.g., anchor bolt holes, guide rail slots) align with the gate’s mounting dimensions. Use a level to check the foundation’s flatness; adjust if deviations exceed allowable limits. - Clean anchor bolt holes and apply anti-rust treatment to exposed metal parts of the foundation.
### 3. Gate Positioning - Use a crane to lift the cast iron gate carefully, keeping it vertical to avoid deformation. Slowly lower it into the installation position. - Align the gate’s mounting holes with the foundation’s anchor bolt holes. Use shims to adjust the gate’s levelness (both horizontally and vertically) as needed, ensuring the gate frame fits tightly with the foundation.
### 4. Fixing the Gate - Insert anchor bolts through the gate’s mounting holes and tighten them gradually (in a diagonal sequence) to avoid uneven stress. Ensure the bolts are securely fastened but do not over-tighten to prevent cracking the cast iron. - Conduct a secondary check of the gate’s levelness and verticality after fastening; readjust if necessary.
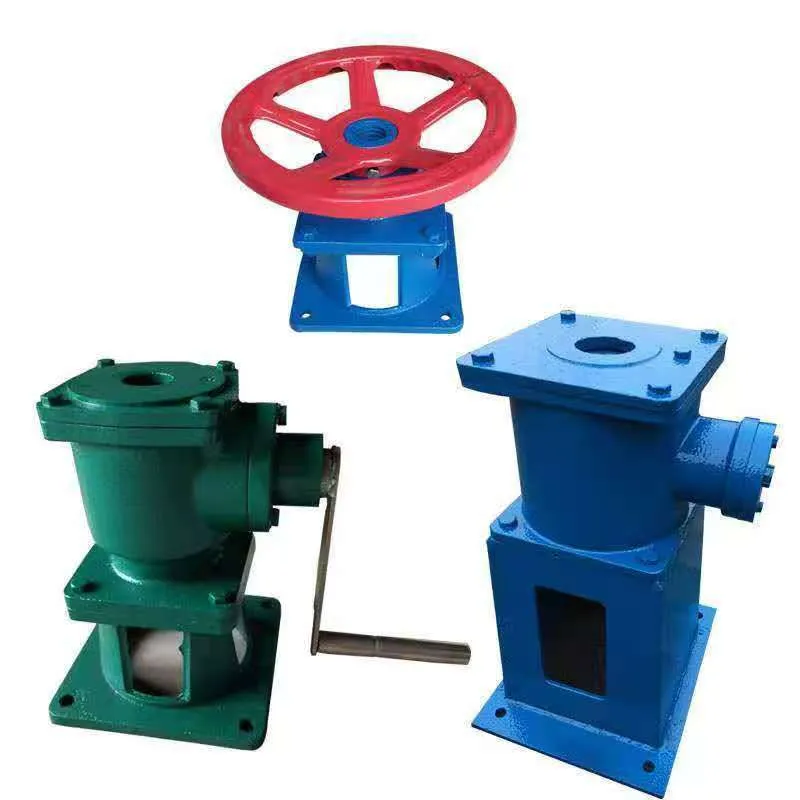
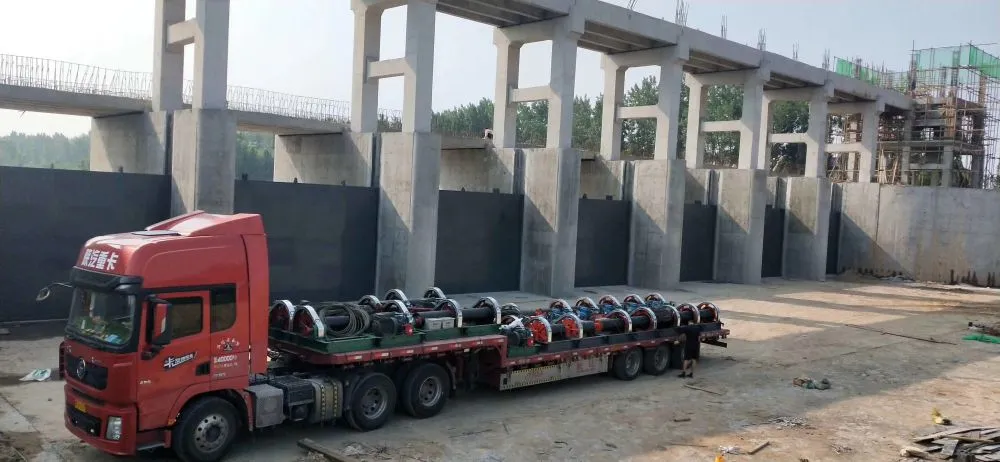 ### 5. Installation of Accessories - Mount the hoist (manual or electric) on the designated position of the gate frame, ensuring it aligns with the gate’s lifting mechanism. Secure the hoist with bolts. - Install gaskets (rubber or metal) between the gate frame and the foundation, as well as between moving parts, to ensure watertightness and smooth operation. - Connect the hoist’s transmission components (e.g., chains, screws) to the gate’s lifting rod, checking for flexible movement without jamming.
### 6. Grouting and Sealing - Pour high-strength grout into the gaps between the gate frame and the foundation. Ensure full filling and compacting to enhance stability. - After grout curing (per manufacturer’s specifications), trim excess grout and apply waterproof sealant along the contact surfaces to prevent leakage.
### 7. Trial Operation - Test the hoist to lift and lower the gate several times. Check for smooth movement, no abnormal noise, and proper alignment of the gate panel with the frame. - Verify watertightness: Close the gate and apply water pressure (simulated or actual) to inspect for leaks. Tighten gaskets or adjust the gate position if leakage occurs.
 ### 8. Final Inspection and Acceptance - Confirm all components are securely installed, operating normally, and meet design requirements. - Document the installation process, including measurements, adjustments, and test results, for acceptance records.
**Note:** Follow safety guidelines during installation, including proper use of lifting equipment and personal protective gear. Refer to the manufacturer’s manual for specific torque values, material specifications, and maintenance recommendations.
Recently Posted
-
Cost-Effectiveness and Long-Term Operation Value of Air Shield Dam Water Conservancy Facility
August 16, 2026For water conservancy investors and engineering contractors, air shield dams have obvious economic advantages in long-term project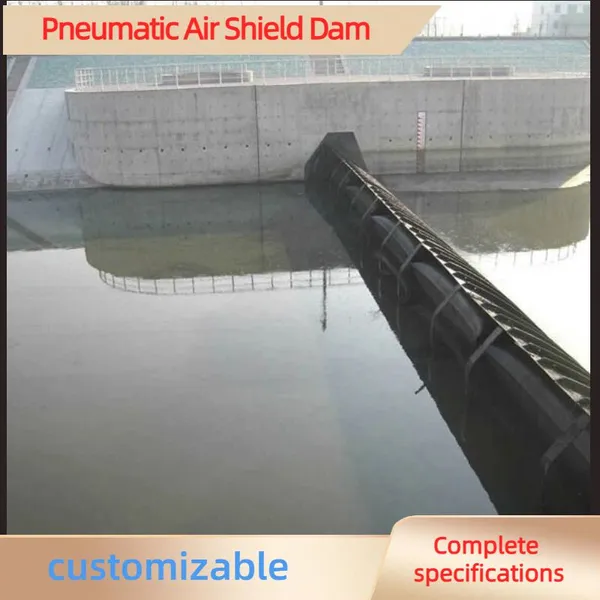 Read More
 -
Flood Control Performance and Safety Features of Modern Air Shield Dam
August 16, 2026Flood prevention and drainage are the core functions of river hydraulic facilities, and air shield dams show outstanding safety an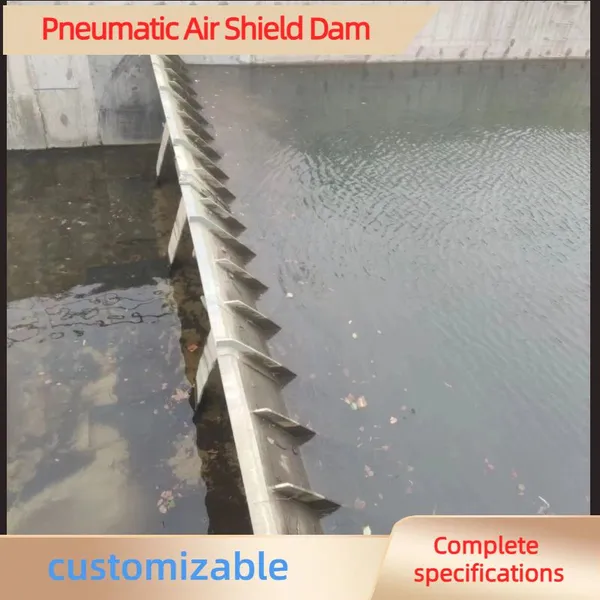 Read More
 -
How Air Shield Dam Improves River Ecological Environment and Protects Aquatic Ecology
August 16, 2026Traditional water retaining dams often block river migration channels and destroy the original ecological balance of water bodies.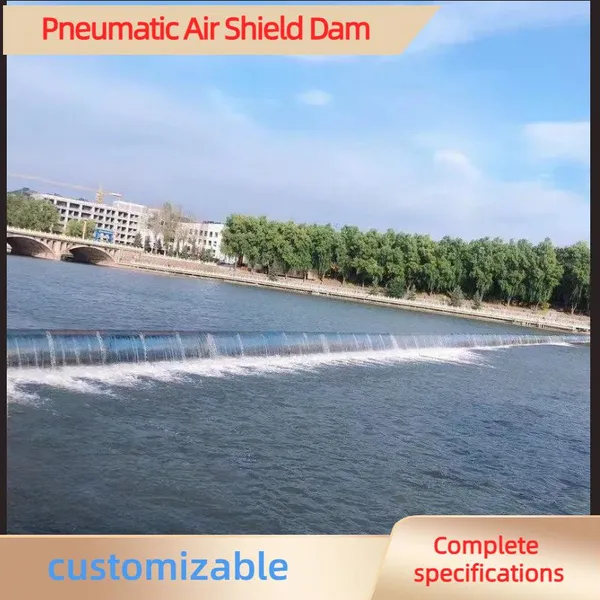 Read More
 -
Advantages of Pneumatic Air Shield Dam in Urban Landscape River Projects
August 16, 2026Urban landscape rivers require both practical water regulation functions and beautiful waterscape effects, and air shield dams per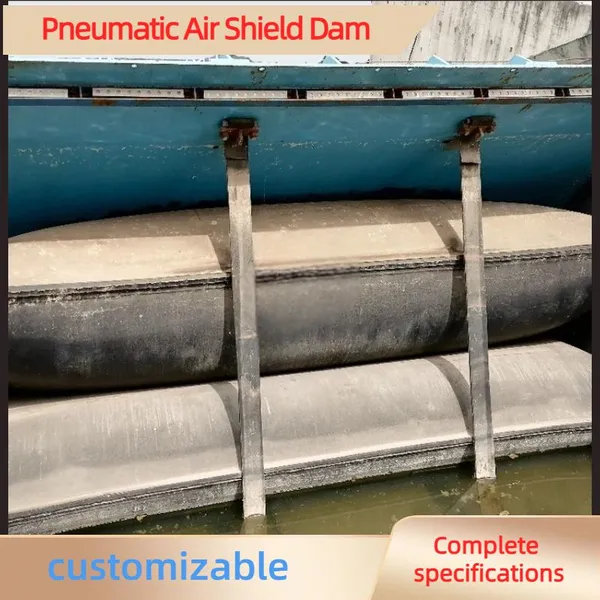 Read More

Contact Us
Recommended Products
-
 Custom Inflatable Rubber Dams – Dual Protection for Flood Control & Irrigation, Direct Factory SupplyUS$ 170 - 250MOQ: 20 Meters
 -
Inflatable Rubber Dams for River Regulation – Specialized for Ecological Landscape Water Storage, Customizable on DemandUS$ 170 - 250MOQ: 20 Meters
-
Lightweight Inflatable Rubber Dams – Fast Deployment, Ideal for Emergency Water ManagemenUS$ 170 - 250MOQ: 20 Meters
-
The Rubber Dam Built for Farmland Irrigation in Indonesia Can Store Water in a 25-meter-wide River.US$ 170 - 250MOQ: 20 Meters
-
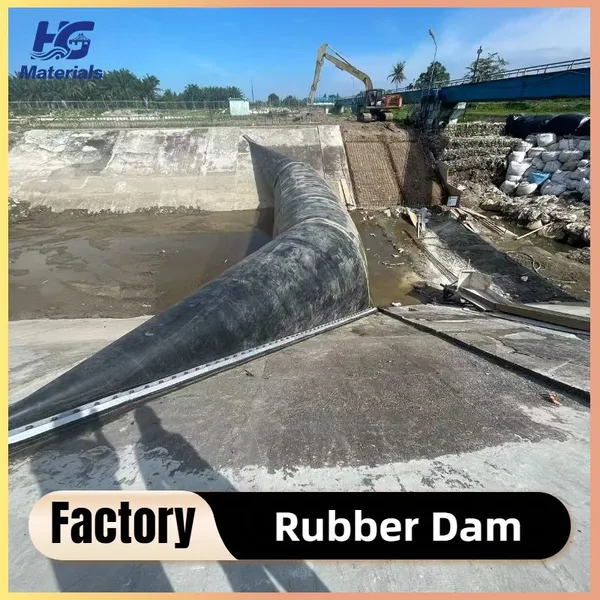
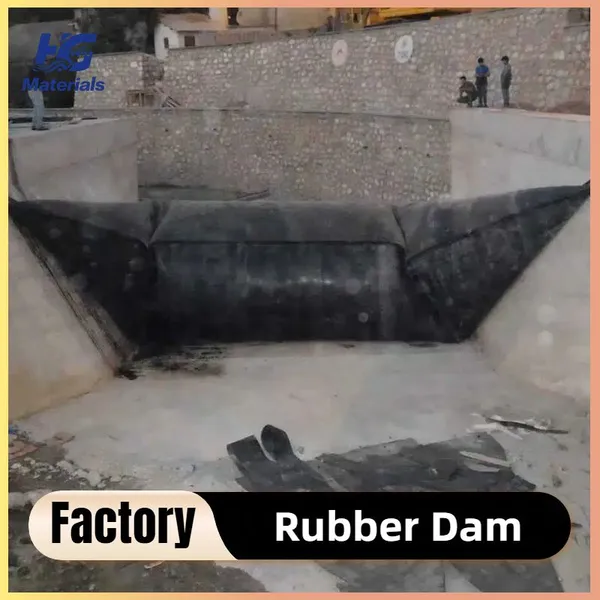
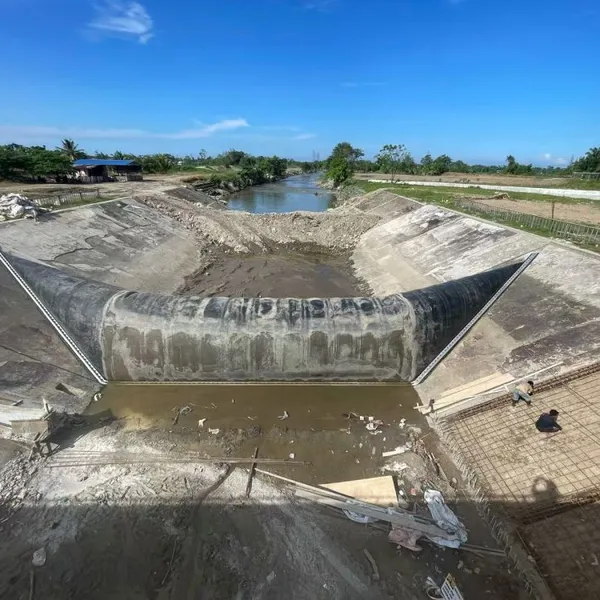
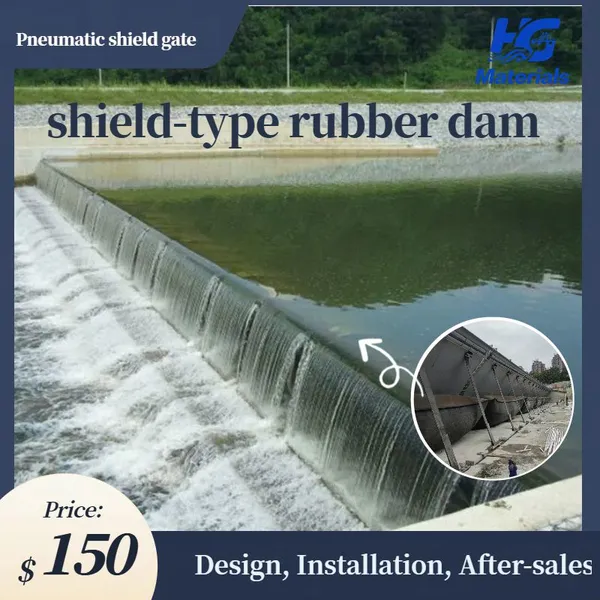
Pneumatic Shield Gate Shield-type Rubber Dam Air Shield Dam Spillway Gate Inflatable Rubber Dam Sold to Thailand, Malaysia, PhilippinesUS$ 1200 - 1500MOQ: 10 Square Meters
-
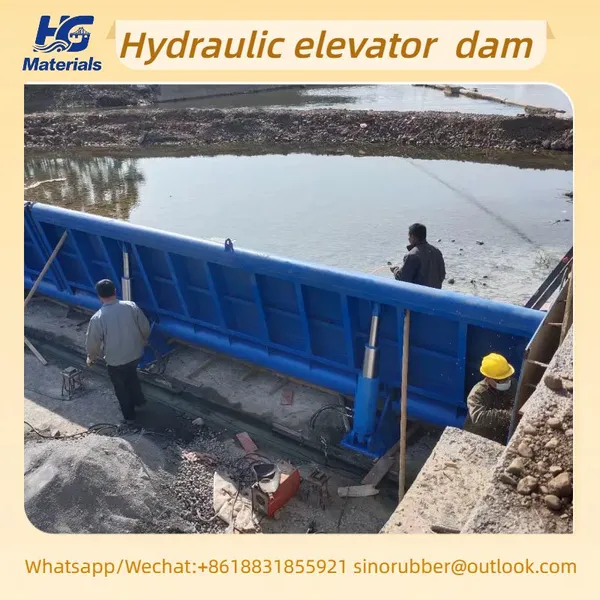
HG006 Hydraulic Elevator Dam Store Water Irrigate Landscape Flood Control Sluice Dam GateUS$ 300 - 350MOQ: 10 Square Meters
-
HG002 Cast Iron Sluice Gate, Farmland Irrigation and Drainage Gate, High-strength Wear-resistant Hydraulic Gate, Available in WholesaleUS$ 200 - 3000MOQ: 10 Combos
-
HG002manufacturer Specializes in Producing Custom-made Copper-inlaid Cast Iron Gates and Cast Iron Round GatesUS$ 200 - 3000MOQ: 10 Combos
-
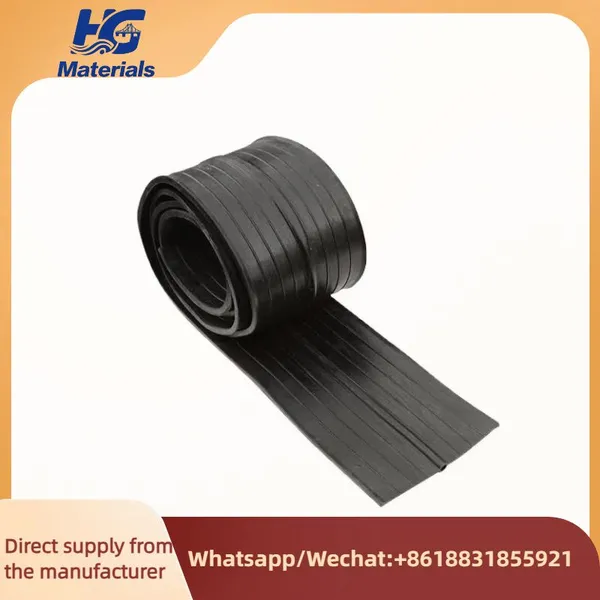
HG001 High Quality Rubber Pvc Water-stop Construction Concrete Joints Waterstops Rubber Water StopUS$ 4.8 - 5MOQ: 100 Meters
-
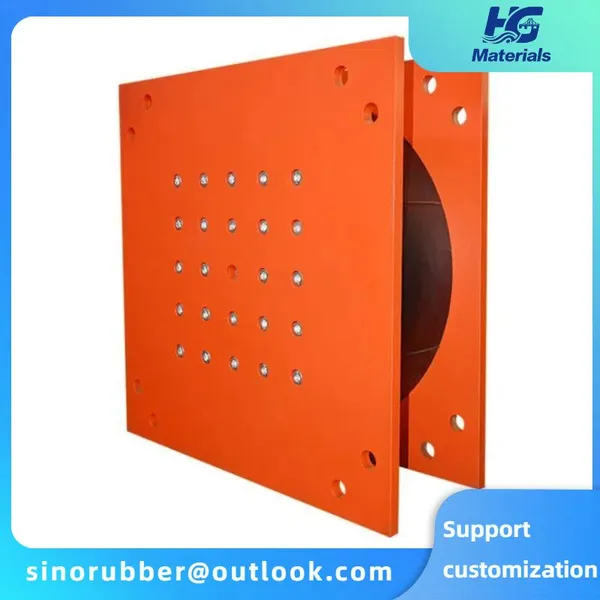
HG004 Elastomeric Laminated Neoprene Rubber Bridge Bearing Pad Nature Rubber Elastomeric Bearing PadUS$ 6.7 - 7MOQ: 10 Pieces
-
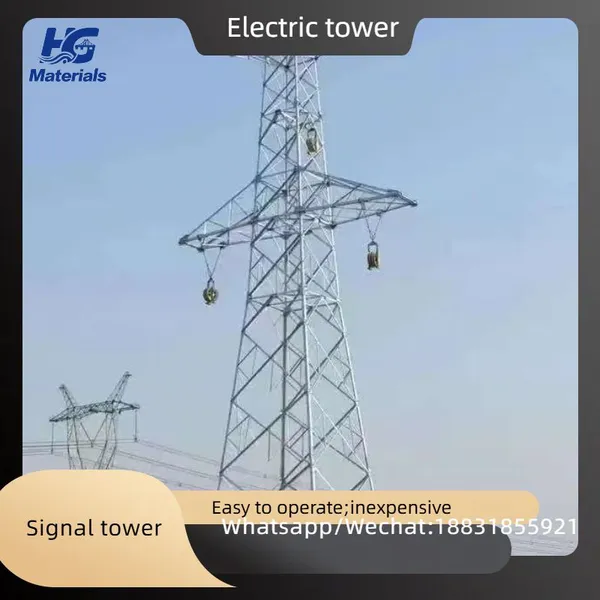
Iron Tower, Signal Tower, Power TowerUS$ 980 - 1000MOQ: 10 Metric Tons
-
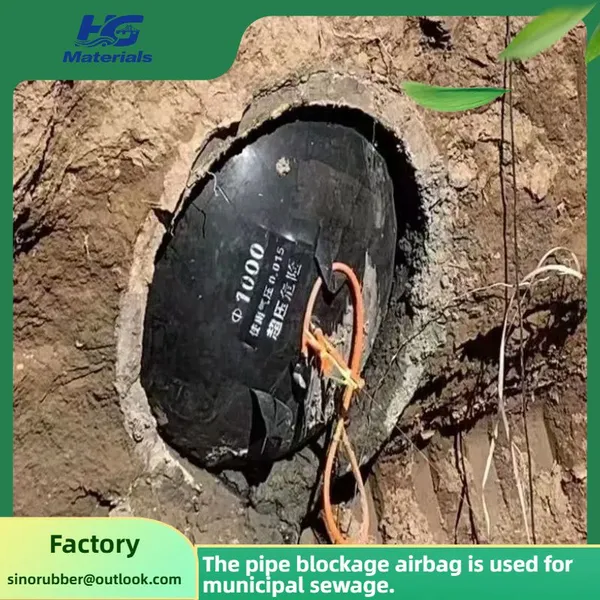
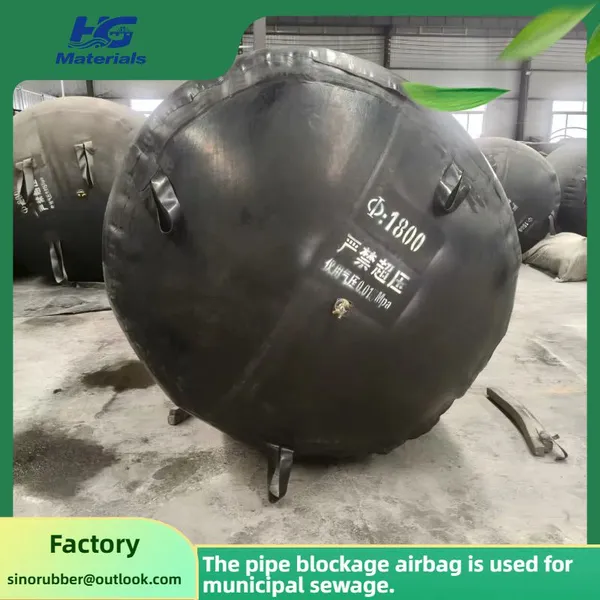
HG003 Customized Municipal Sewer Pipe Repair Pipe Blockage Diameter 800 Rubber Airbag Rubber Pipe Sealing AirbagUS$ 5 - 100MOQ: 10 Combos
-
Pipeline Blockage Water Balloon, Sewer Sewage Pipe Leak Sealing Rubber Balloon, Thickened Inflatable Pipeline BalloonUS$ 5 - 100MOQ: 10 Combos
-
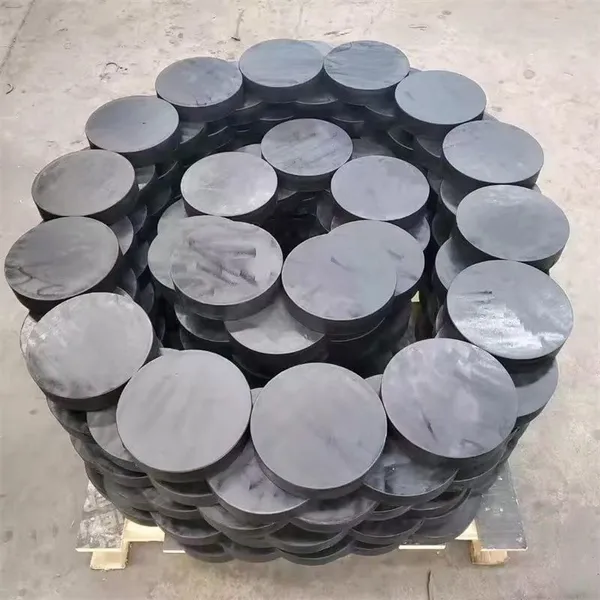
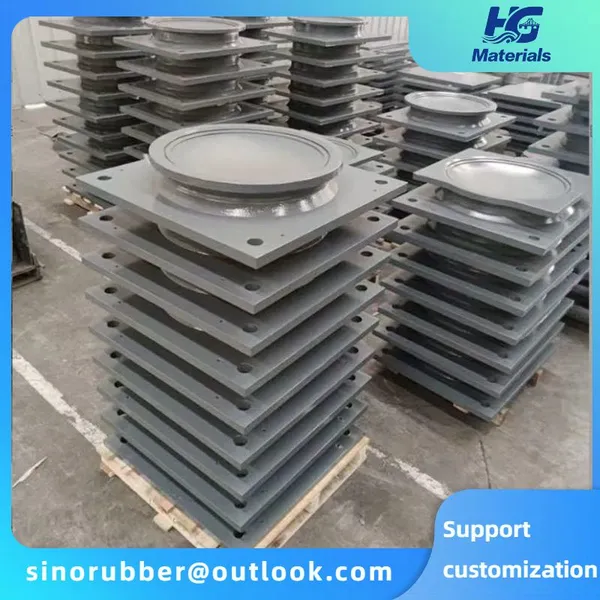
Bridge Rubber Bearings With Steel Reinforcement for Railway Use - Low Noise and Vibration Reduction PropertiesUS$ 6.7 - 7MOQ: 10 Pieces
-
HG004 Bridge Highway Rubber Bearings, Circular and Rectangular Bridge Construction PTFE Rubber Pad Bearings, Shock-absorbing PadsUS$ 6.7 - 7MOQ: 10 Pieces
-
Custom Inflatable Rubber Dams – Dual Protection for Flood Control & Irrigation, Direct From Source FactoryUS$ 170 - 250MOQ: 20 Meters
-
Hot Selling Galvanized 30 Corrugated Metal Pipe Cmp Culvert PipeUS$ 200 - 210MOQ: 100 Meters
-
Galvanized Corrugated Metal Pipe 20mm 3/4'' Armco Mp100 Steel Pipe Flexible Corrugated Tube Large DiameterUS$ 200 - 210MOQ: 100 Meters
-
Hesco Bastion Galvanized Barrier Welded Barriers for Bastion Sand Recover Geotextile BastionUS$ 6 - 7MOQ: 100 Cases
-
Customizable Culvert Pipe Oval Shaped Steel Road Cheap 36 Inch Corrugated Metal Pipe PriceUS$ 200 - 210MOQ: 100 Meters