Hengshui Haogu Engineering Materials Co., Ltd.

1Yr
 Business License
Main Products: rubber dam, Bridge rubber bearing, Cast Iron Gate, Hydraulic elevator dam

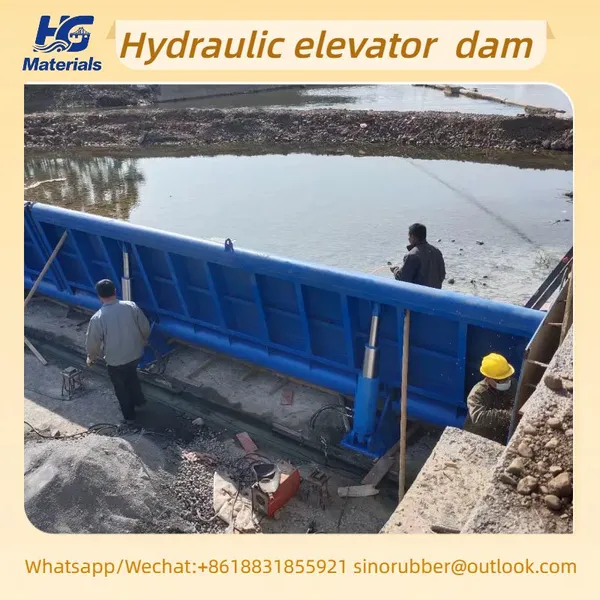
Installation Process of a Hydraulic Elevator Dam
Mr. Wendy
October 27, 2025
Installation Process of a Hydraulic Elevator Dam
1. Preparatory Phase
2. Foundation and Support Structure Construction
3. Guide Rail System Installation
4. Hydraulic System Installation
5. Water-Retaining Panel (Gate Leaf) Installation
6. Control System Installation
7. Commissioning and Testing
8. Acceptance and Handover
Share
Recently Posted
-
Cost-Effectiveness and Long-Term Operation Value of Air Shield Dam Water Conservancy Facility
August 16, 2026For water conservancy investors and engineering contractors, air shield dams have obvious economic advantages in long-term project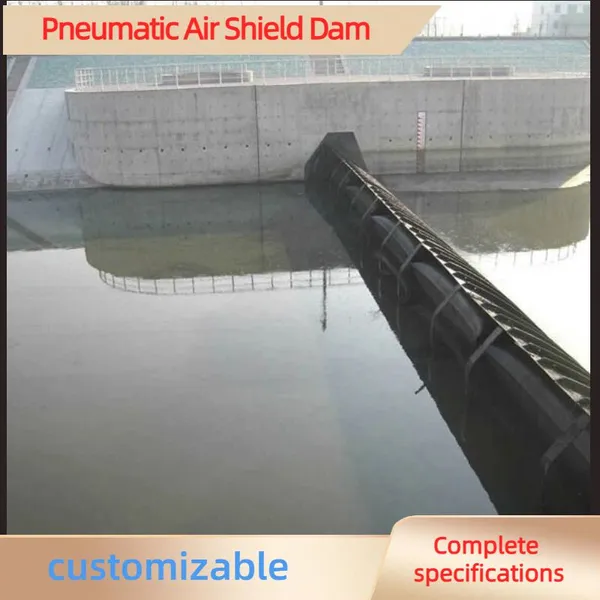 Read More
 -
Flood Control Performance and Safety Features of Modern Air Shield Dam
August 16, 2026Flood prevention and drainage are the core functions of river hydraulic facilities, and air shield dams show outstanding safety an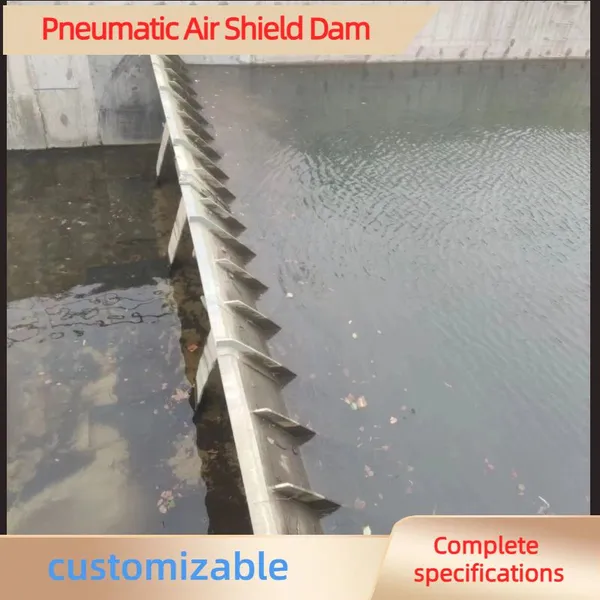 Read More
 -
How Air Shield Dam Improves River Ecological Environment and Protects Aquatic Ecology
August 16, 2026Traditional water retaining dams often block river migration channels and destroy the original ecological balance of water bodies.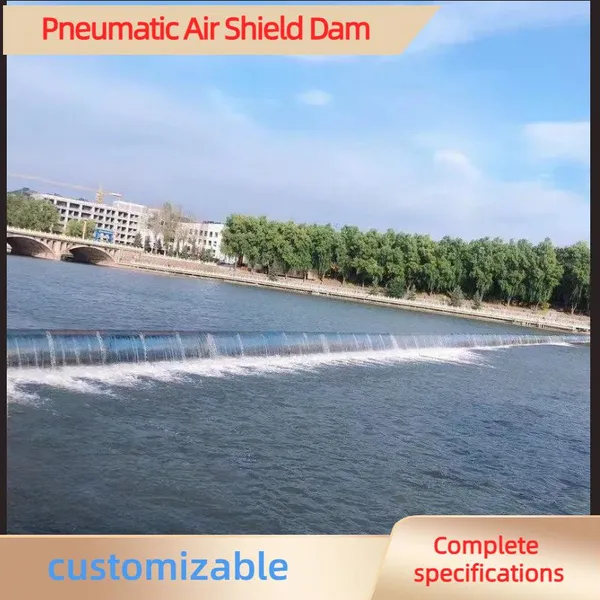 Read More
 -
Advantages of Pneumatic Air Shield Dam in Urban Landscape River Projects
August 16, 2026Urban landscape rivers require both practical water regulation functions and beautiful waterscape effects, and air shield dams per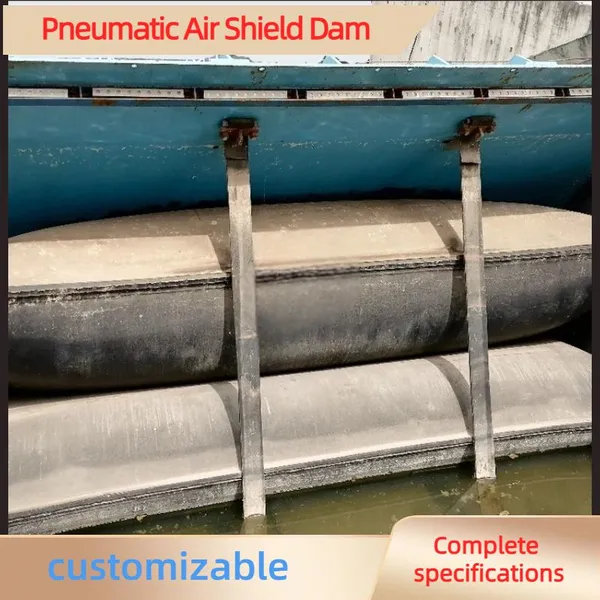 Read More

Contact Us
Recommended Products
-
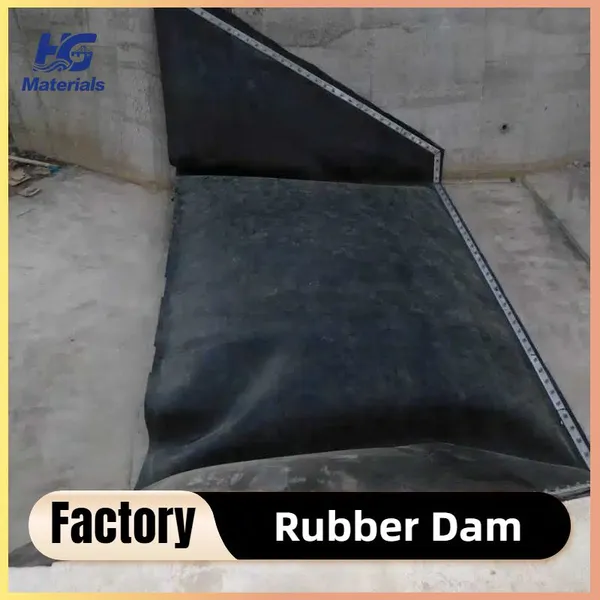
 Custom Inflatable Rubber Dams – Dual Protection for Flood Control & Irrigation, Direct Factory SupplyUS$ 170 - 250MOQ: 20 Meters
 -
Inflatable Rubber Dams for River Regulation – Specialized for Ecological Landscape Water Storage, Customizable on DemandUS$ 170 - 250MOQ: 20 Meters
-
Lightweight Inflatable Rubber Dams – Fast Deployment, Ideal for Emergency Water ManagemenUS$ 170 - 250MOQ: 20 Meters
-
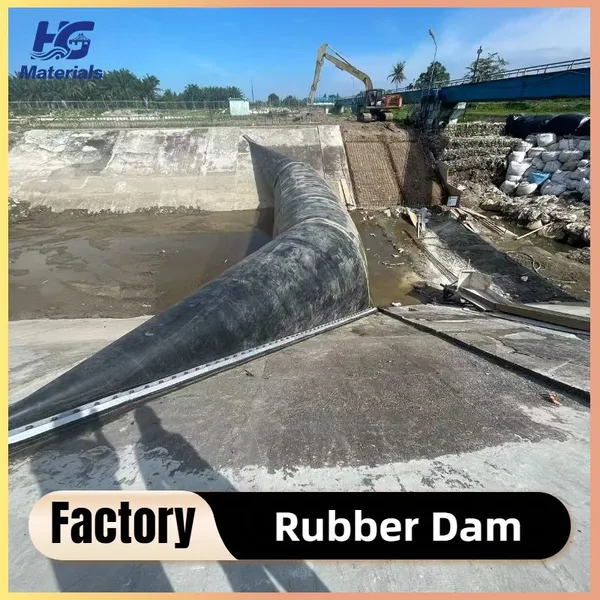
The Rubber Dam Built for Farmland Irrigation in Indonesia Can Store Water in a 25-meter-wide River.US$ 170 - 250MOQ: 20 Meters
-
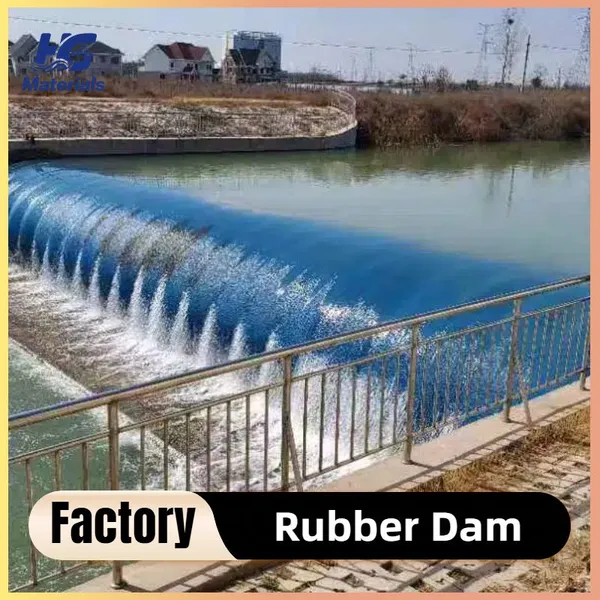
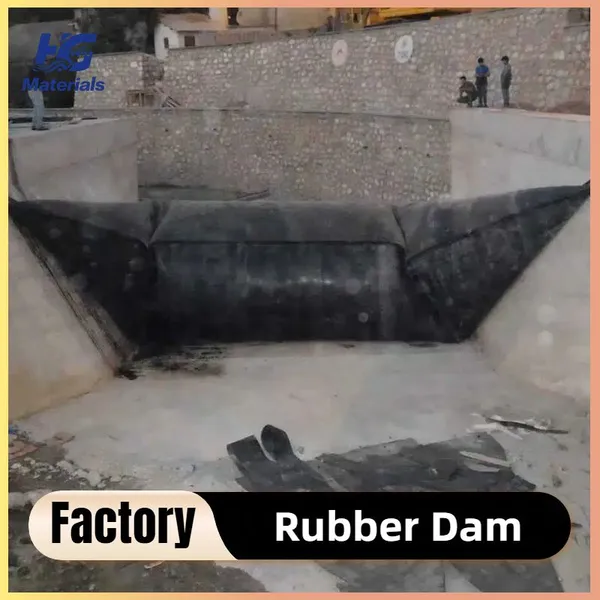
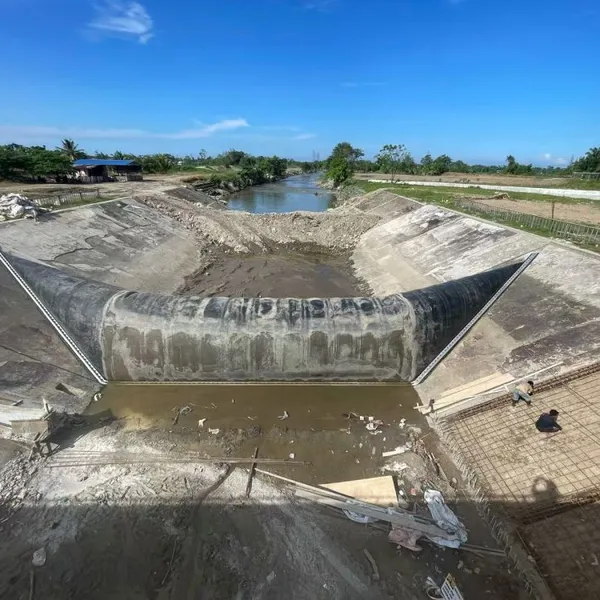
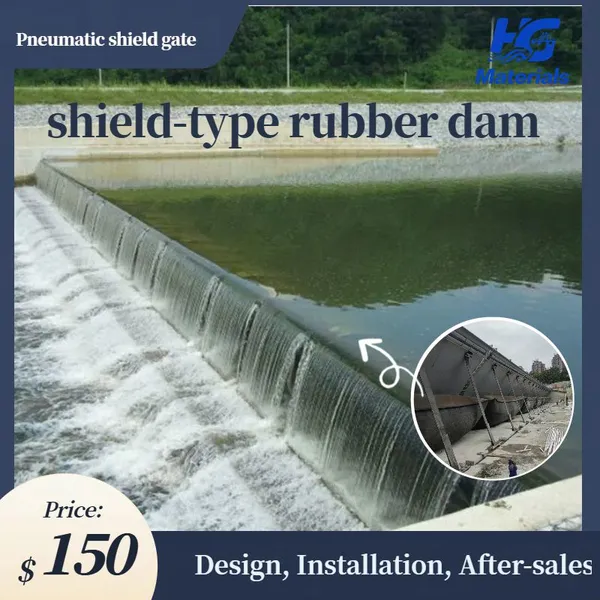
Pneumatic Shield Gate Shield-type Rubber Dam Air Shield Dam Spillway Gate Inflatable Rubber Dam Sold to Thailand, Malaysia, PhilippinesUS$ 1200 - 1500MOQ: 10 Square Meters
-
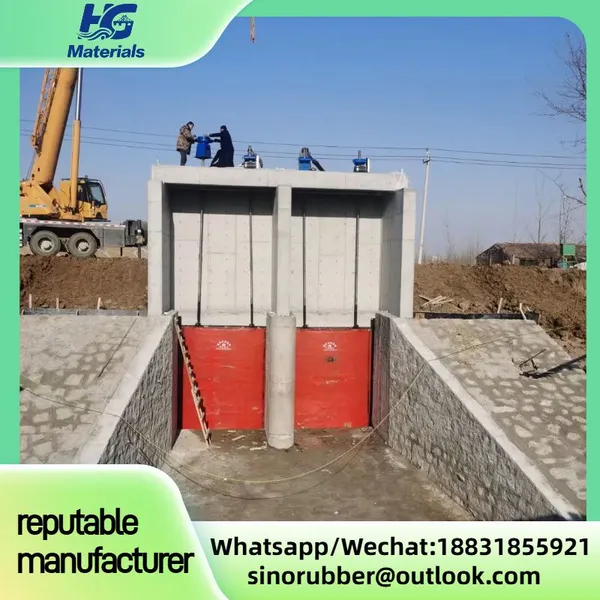
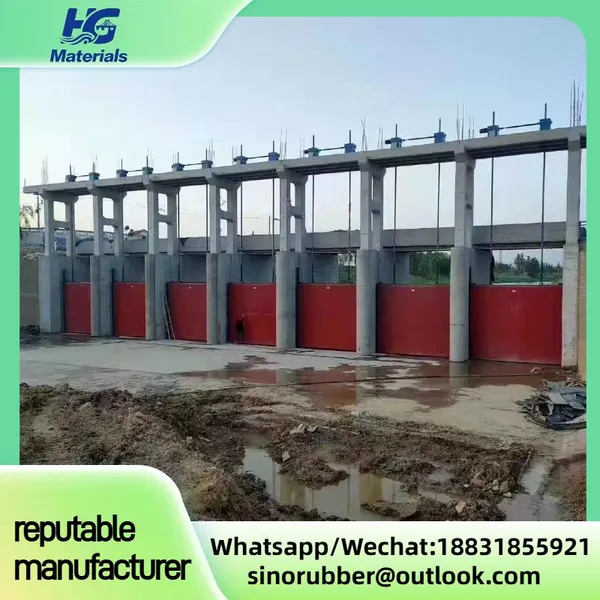
HG006 Hydraulic Elevator Dam Store Water Irrigate Landscape Flood Control Sluice Dam GateUS$ 300 - 350MOQ: 10 Square Meters
-
HG002 Cast Iron Sluice Gate, Farmland Irrigation and Drainage Gate, High-strength Wear-resistant Hydraulic Gate, Available in WholesaleUS$ 200 - 3000MOQ: 10 Combos
-
HG002manufacturer Specializes in Producing Custom-made Copper-inlaid Cast Iron Gates and Cast Iron Round GatesUS$ 200 - 3000MOQ: 10 Combos
-
HG001 High Quality Rubber Pvc Water-stop Construction Concrete Joints Waterstops Rubber Water StopUS$ 4.8 - 5MOQ: 100 Meters
-
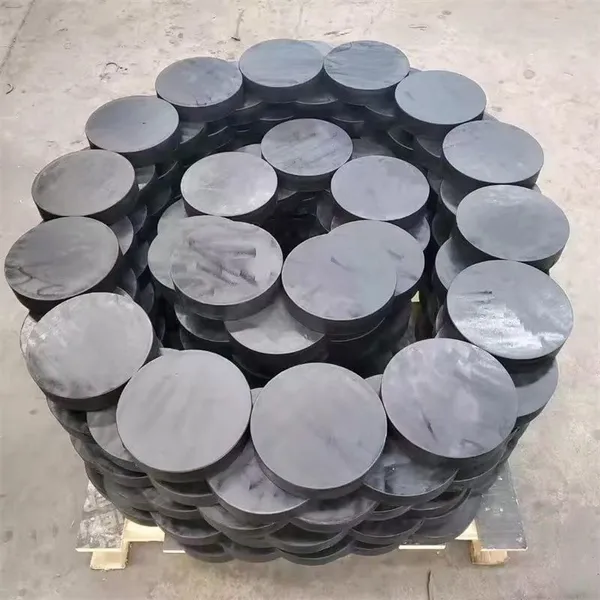
HG004 Elastomeric Laminated Neoprene Rubber Bridge Bearing Pad Nature Rubber Elastomeric Bearing PadUS$ 6.7 - 7MOQ: 10 Pieces
-
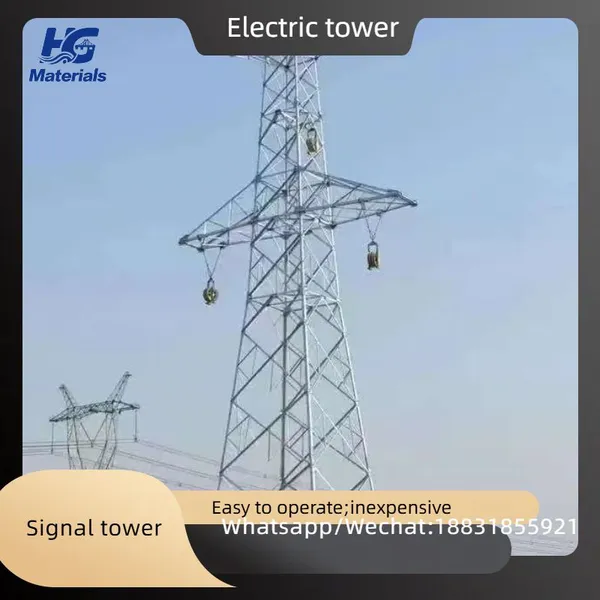
Iron Tower, Signal Tower, Power TowerUS$ 980 - 1000MOQ: 10 Metric Tons
-
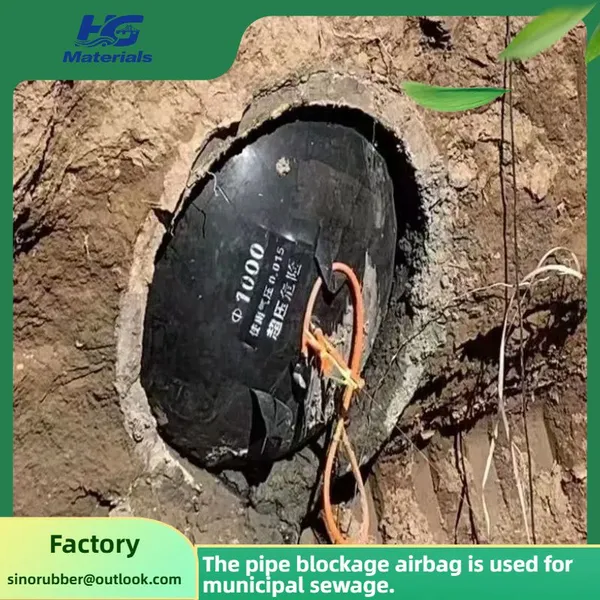
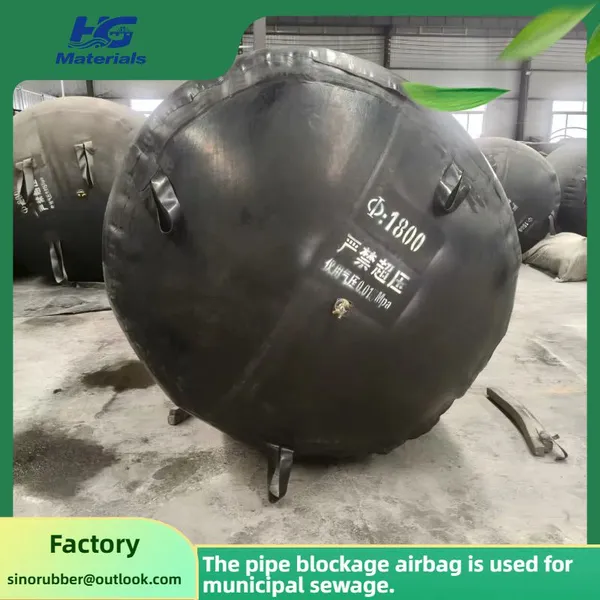
HG003 Customized Municipal Sewer Pipe Repair Pipe Blockage Diameter 800 Rubber Airbag Rubber Pipe Sealing AirbagUS$ 5 - 100MOQ: 10 Combos
-
Pipeline Blockage Water Balloon, Sewer Sewage Pipe Leak Sealing Rubber Balloon, Thickened Inflatable Pipeline BalloonUS$ 5 - 100MOQ: 10 Combos
-
Bridge Rubber Bearings With Steel Reinforcement for Railway Use - Low Noise and Vibration Reduction PropertiesUS$ 6.7 - 7MOQ: 10 Pieces
-
HG004 Bridge Highway Rubber Bearings, Circular and Rectangular Bridge Construction PTFE Rubber Pad Bearings, Shock-absorbing PadsUS$ 6.7 - 7MOQ: 10 Pieces
-
Custom Inflatable Rubber Dams – Dual Protection for Flood Control & Irrigation, Direct From Source FactoryUS$ 170 - 250MOQ: 20 Meters
-
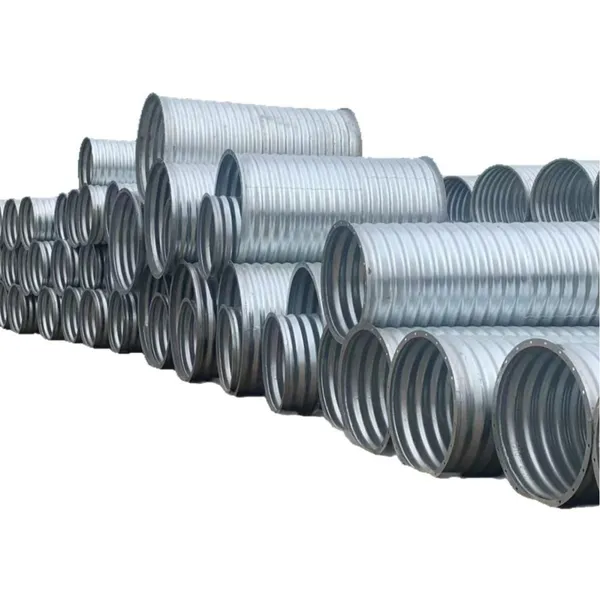
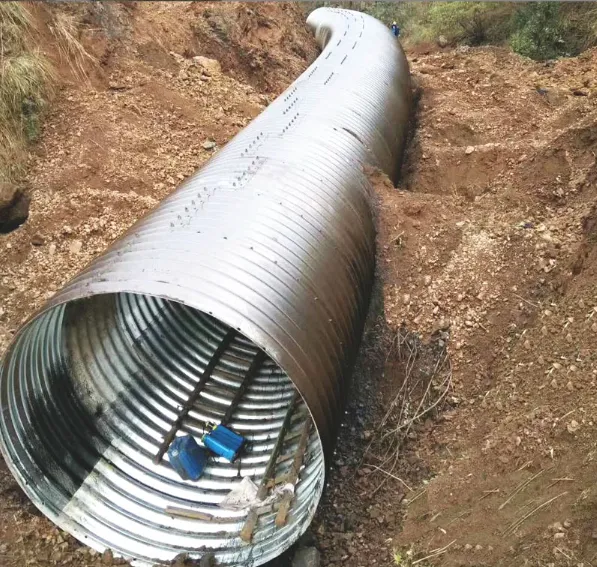
Hot Selling Galvanized 30 Corrugated Metal Pipe Cmp Culvert PipeUS$ 200 - 210MOQ: 100 Meters
-
Galvanized Corrugated Metal Pipe 20mm 3/4'' Armco Mp100 Steel Pipe Flexible Corrugated Tube Large DiameterUS$ 200 - 210MOQ: 100 Meters
-
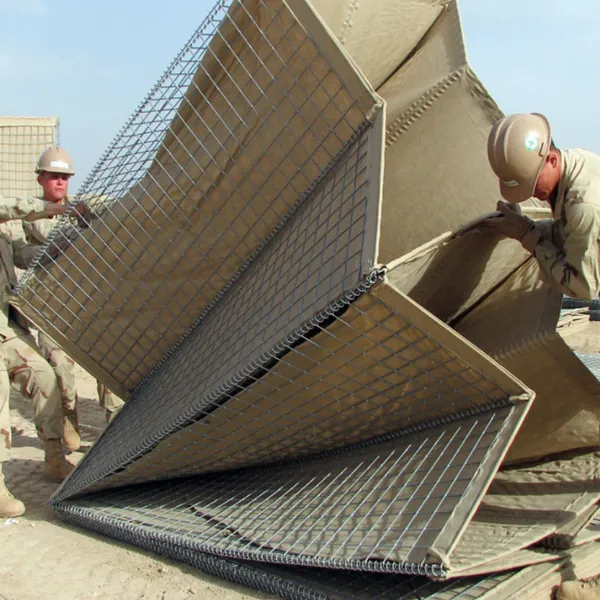
Hesco Bastion Galvanized Barrier Welded Barriers for Bastion Sand Recover Geotextile BastionUS$ 6 - 7MOQ: 100 Cases
-
Customizable Culvert Pipe Oval Shaped Steel Road Cheap 36 Inch Corrugated Metal Pipe PriceUS$ 200 - 210MOQ: 100 Meters