Hengshui Haogu Engineering Materials Co., Ltd.
1Yr
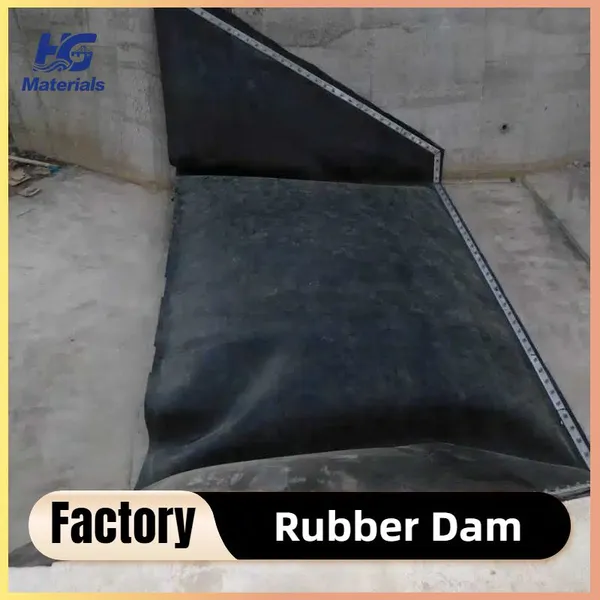
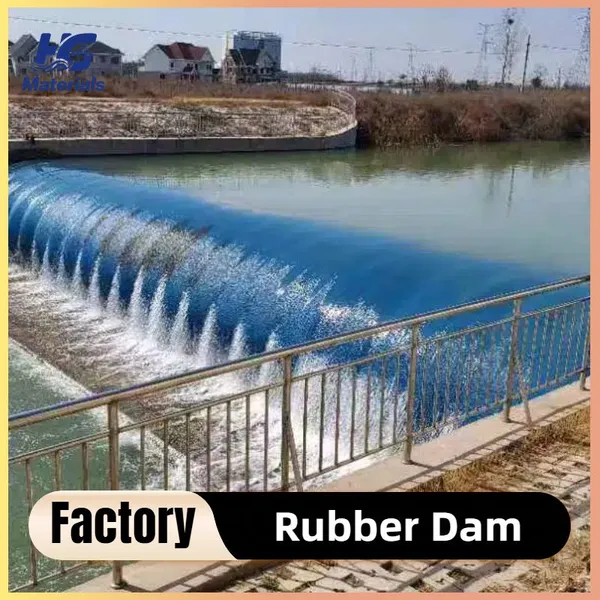
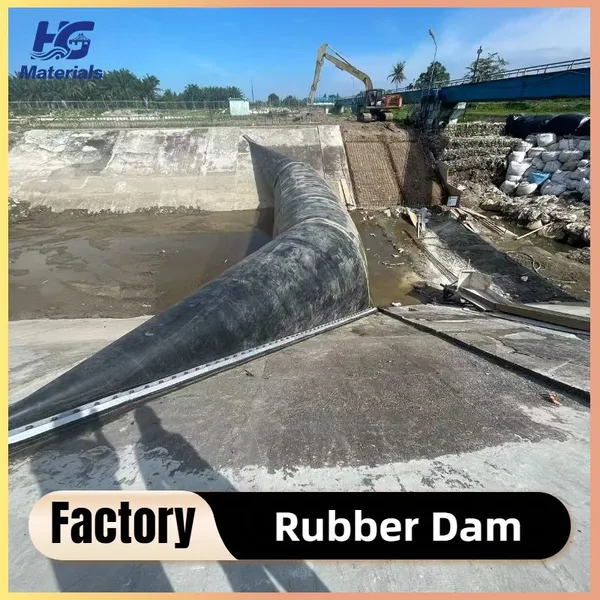
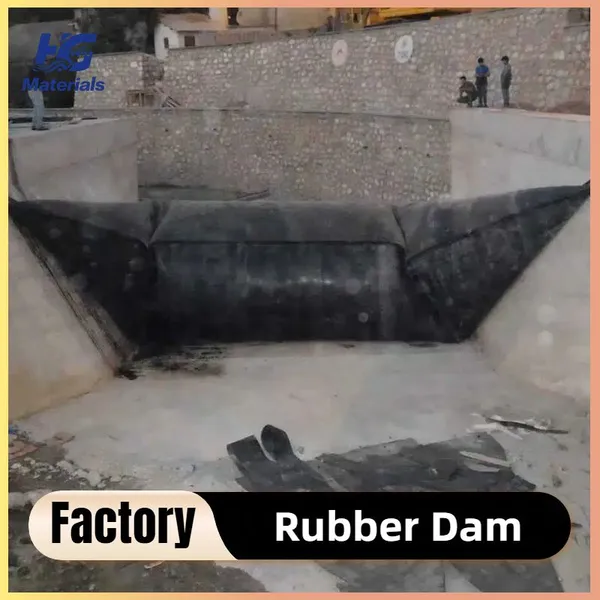
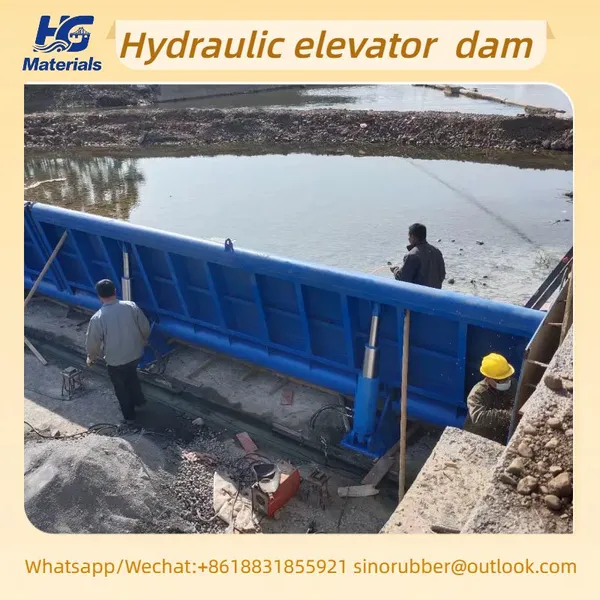
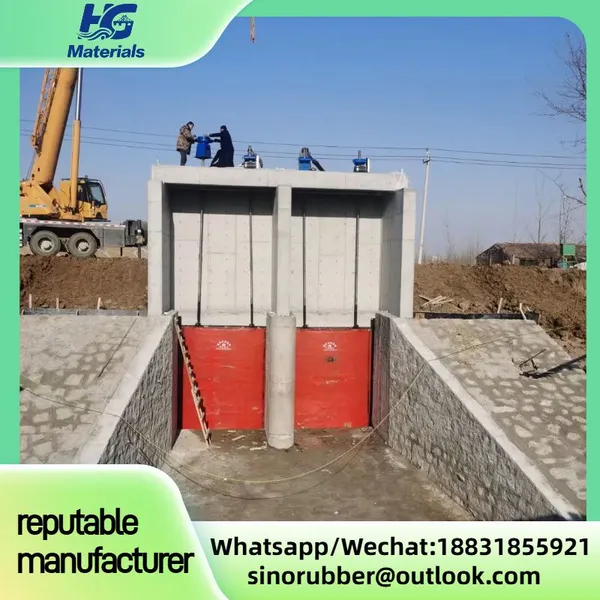
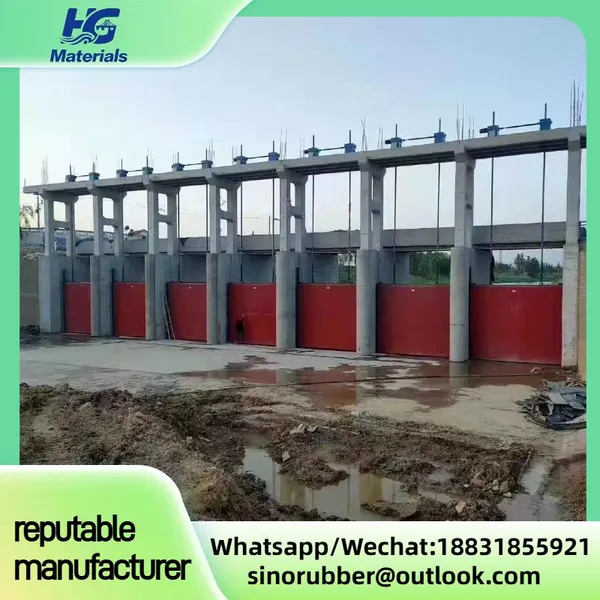
Main Products: rubber dam, Bridge rubber bearing, Cast Iron Gate, Hydraulic elevator dam

The installation of a rubber dam involves a systematic, multi-stage process that combines civil engi
Mr. Wendy
December 13, 2025
1. Pre-Installation Preparation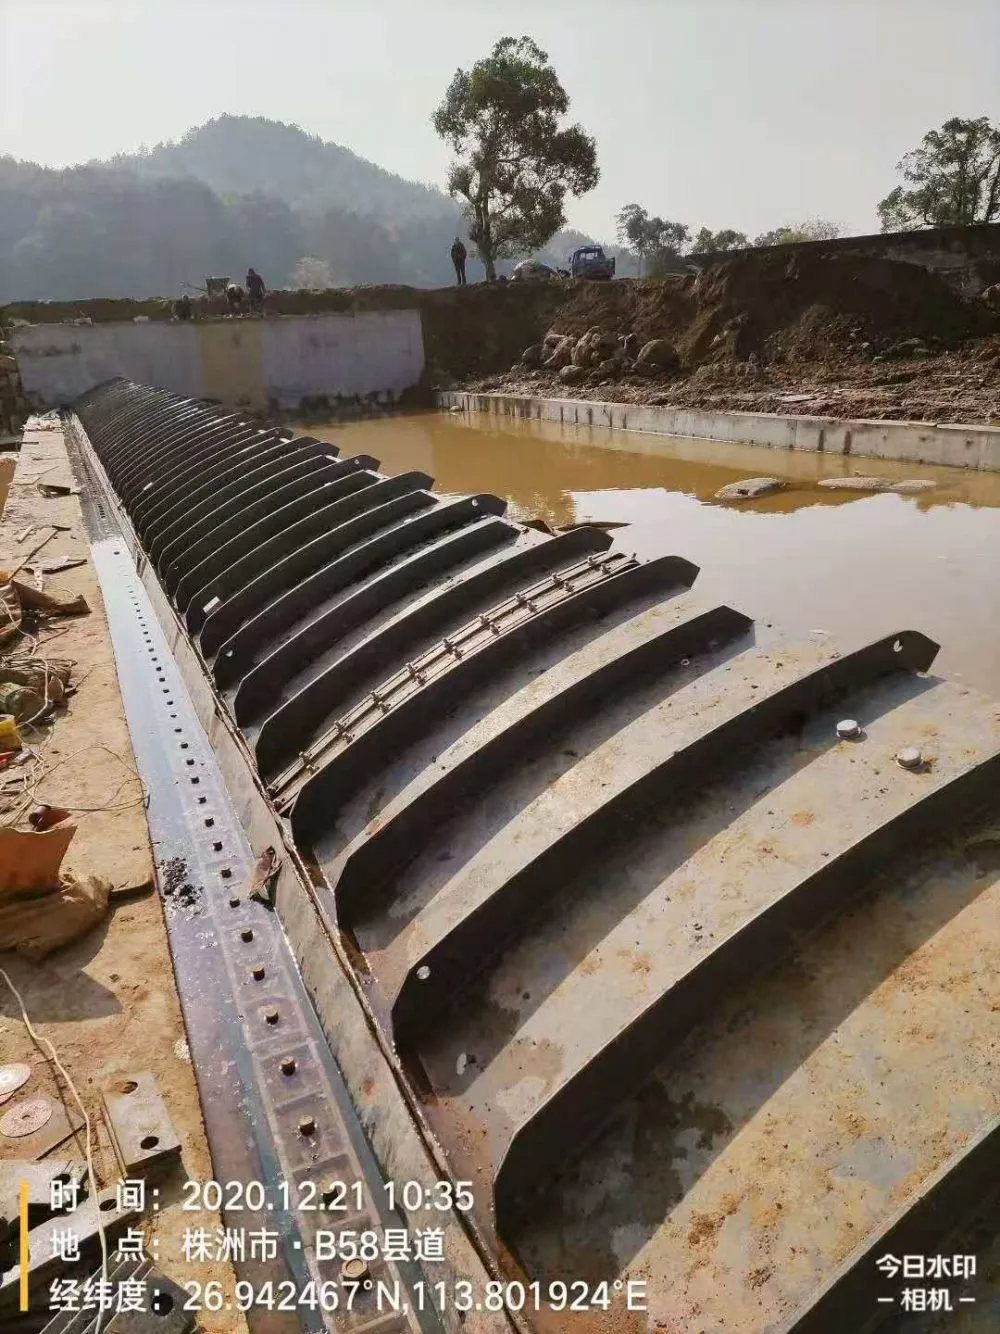
2. Foundation and Abutment Construction
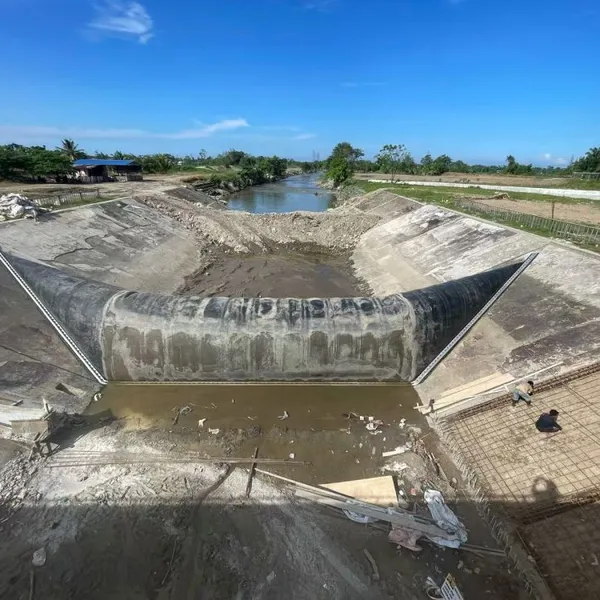
3. Rubber Membrane Installation
4. Installation of Auxiliary Systems
5. Sealing Test and Commissioning
6. Post-Installation Acceptance and Protection
Share
Recently Posted
-
Quality inspection process of steel sluice gates
March 8, 2026Quality Inspection Process of Steel Sluice Gates1. Raw Material InspectionCheck material certificates (MTC) for steel plates, prof Read More
 -
Production process of steel gate
March 8, 2026Production Process of Steel Gate (Sluice Gate)This is the standard industrial production flow for steel gates / steel sluice gates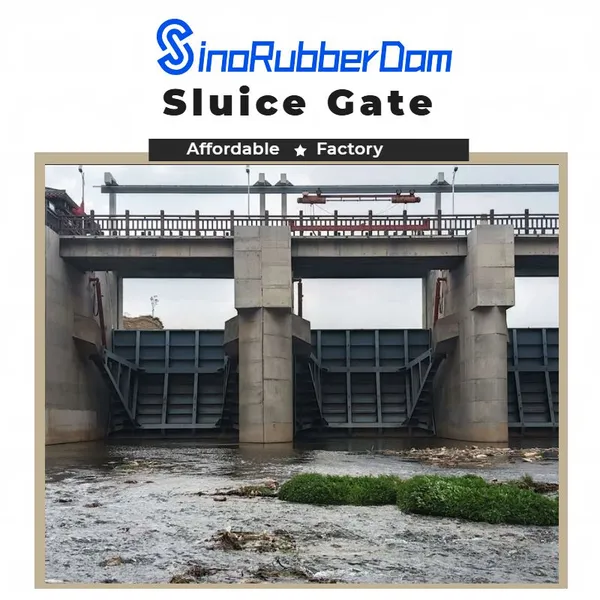 Read More
 -
Applications of steel gates
March 8, 2026Steel gates (also called steel sluice gates / penstocks) are widely used for water flow control, isolation, and water level regula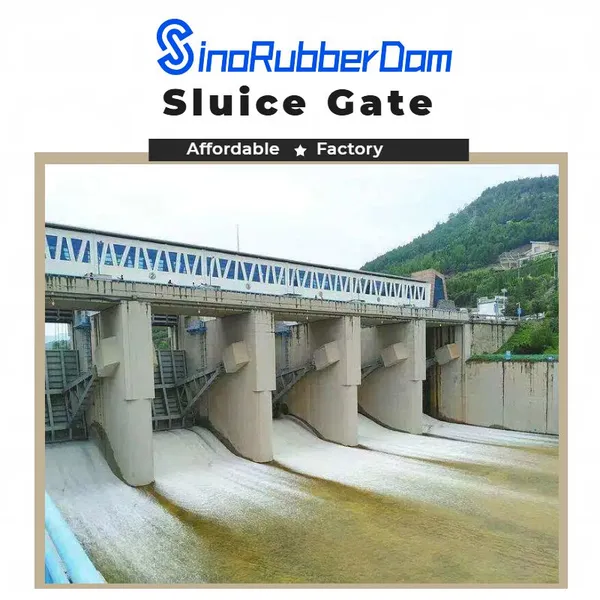 Read More
 -
The Uses of Steel Gate Valves
March 8, 2026Steel gate valves are primarily used for full shut-off/isolation in high-pressure, high-temperature, and heavy-duty industrial sys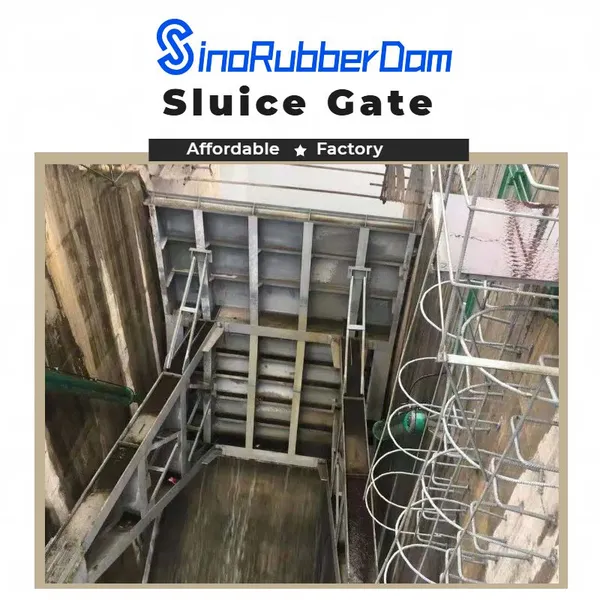 Read More

Contact Us
Recommended Products
-
 Custom Inflatable Rubber Dams – Dual Protection for Flood Control & Irrigation, Direct Factory SupplyUS$ 170 - 250MOQ: 20 Meters
 -
Inflatable Rubber Dams for River Regulation – Specialized for Ecological Landscape Water Storage, Customizable on DemandUS$ 170 - 250MOQ: 20 Meters
-
Lightweight Inflatable Rubber Dams – Fast Deployment, Ideal for Emergency Water ManagemenUS$ 170 - 250MOQ: 20 Meters
-
The Rubber Dam Built for Farmland Irrigation in Indonesia Can Store Water in a 25-meter-wide River.US$ 170 - 250MOQ: 20 Meters
-
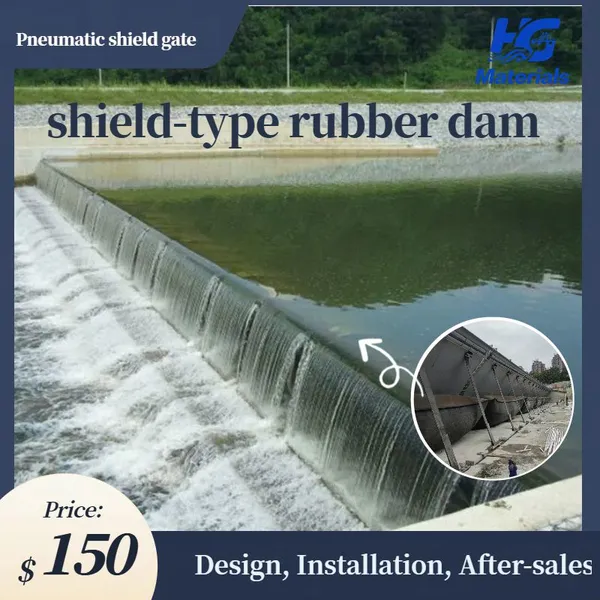
Pneumatic Shield Gate Shield-type Rubber Dam Air Shield Dam Spillway Gate Inflatable Rubber Dam Sold to Thailand, Malaysia, PhilippinesUS$ 1200 - 1500MOQ: 10 Square Meters
-
HG006 Hydraulic Elevator Dam Store Water Irrigate Landscape Flood Control Sluice Dam GateUS$ 300 - 350MOQ: 10 Square Meters
-
HG002 Cast Iron Sluice Gate, Farmland Irrigation and Drainage Gate, High-strength Wear-resistant Hydraulic Gate, Available in WholesaleUS$ 200 - 3000MOQ: 10 Combos
-
HG002manufacturer Specializes in Producing Custom-made Copper-inlaid Cast Iron Gates and Cast Iron Round GatesUS$ 200 - 3000MOQ: 10 Combos
-
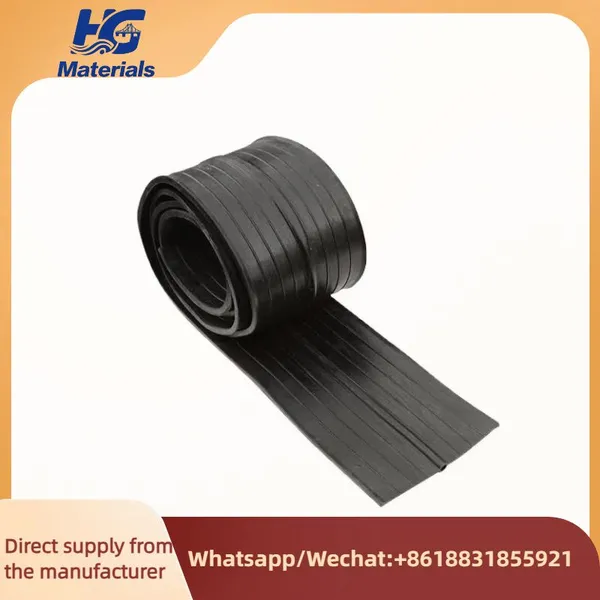
HG001 High Quality Rubber Pvc Water-stop Construction Concrete Joints Waterstops Rubber Water StopUS$ 4.8 - 5MOQ: 100 Meters
-
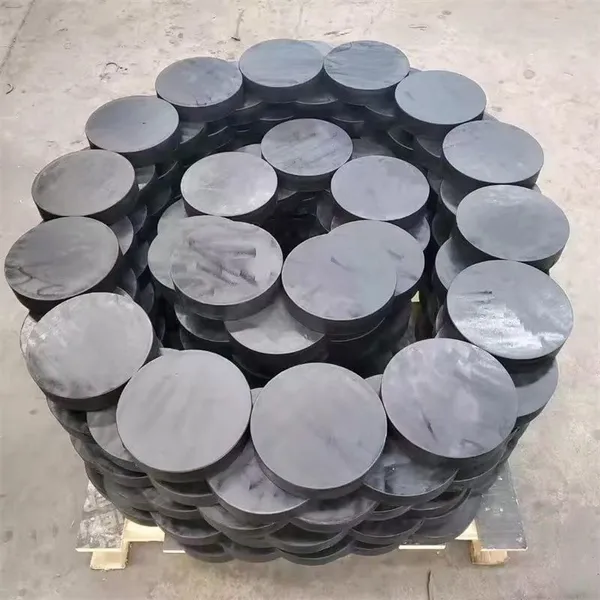
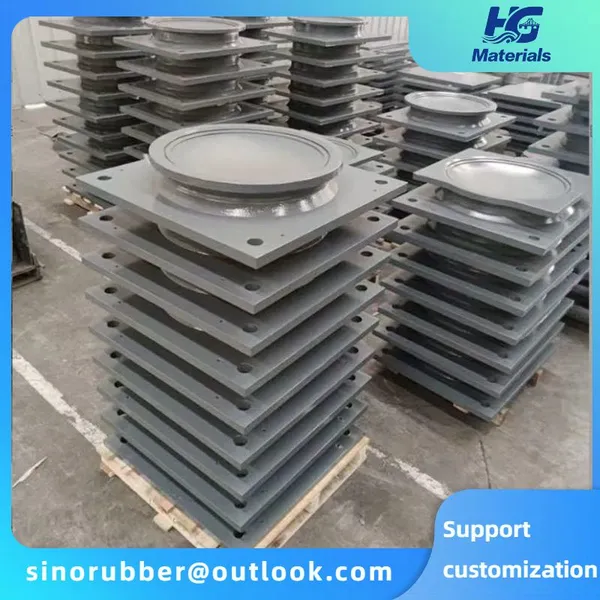
HG004 Elastomeric Laminated Neoprene Rubber Bridge Bearing Pad Nature Rubber Elastomeric Bearing PadUS$ 6.7 - 7MOQ: 10 Pieces

-
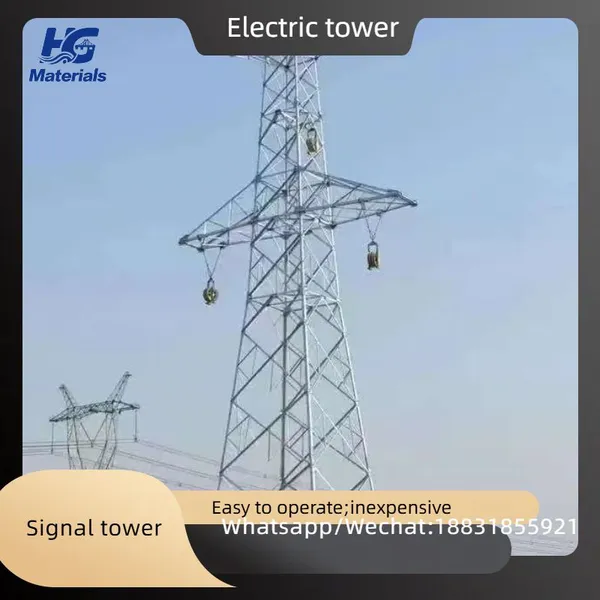
Iron Tower, Signal Tower, Power TowerUS$ 980 - 1000MOQ: 10 Metric Tons
-
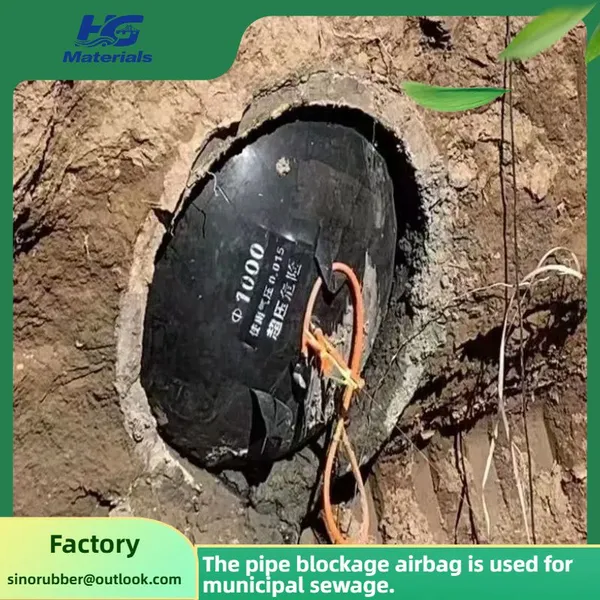
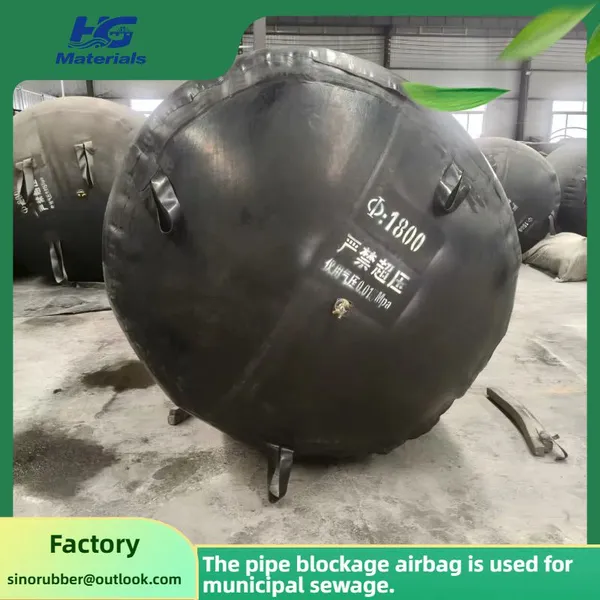
HG003 Customized Municipal Sewer Pipe Repair Pipe Blockage Diameter 800 Rubber Airbag Rubber Pipe Sealing AirbagUS$ 5 - 100MOQ: 10 Combos
-
Pipeline Blockage Water Balloon, Sewer Sewage Pipe Leak Sealing Rubber Balloon, Thickened Inflatable Pipeline BalloonUS$ 5 - 100MOQ: 10 Combos
-
Bridge Rubber Bearings With Steel Reinforcement for Railway Use - Low Noise and Vibration Reduction PropertiesUS$ 6.7 - 7MOQ: 10 Pieces
-
HG004 Bridge Highway Rubber Bearings, Circular and Rectangular Bridge Construction PTFE Rubber Pad Bearings, Shock-absorbing PadsUS$ 6.7 - 7MOQ: 10 Pieces
-
Custom Inflatable Rubber Dams – Dual Protection for Flood Control & Irrigation, Direct From Source FactoryUS$ 170 - 250MOQ: 20 Meters
-
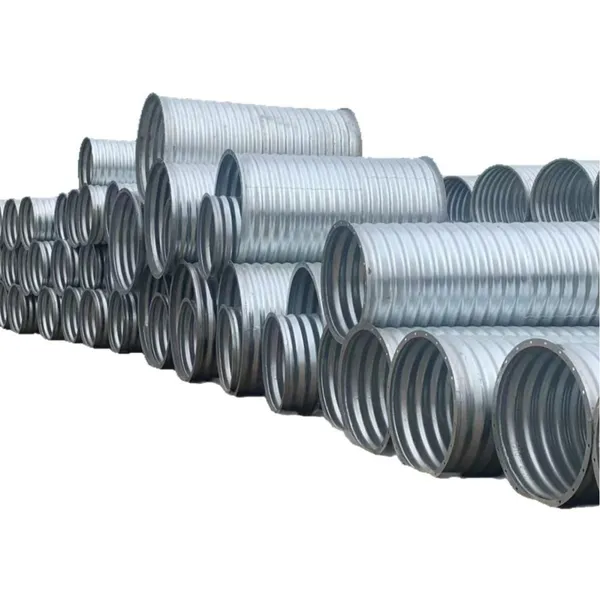
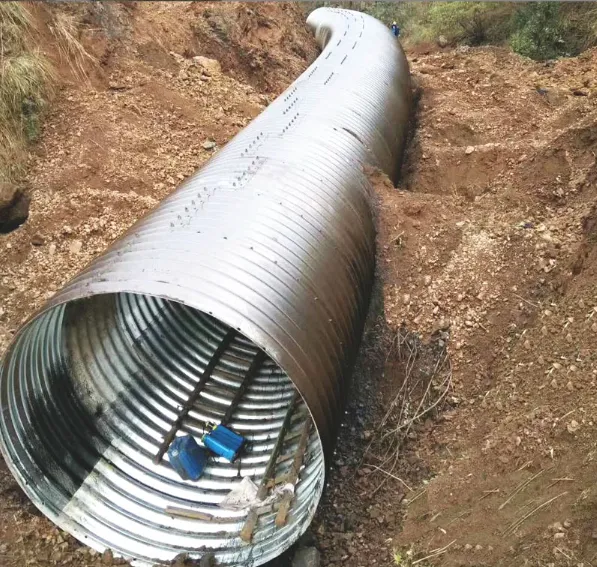
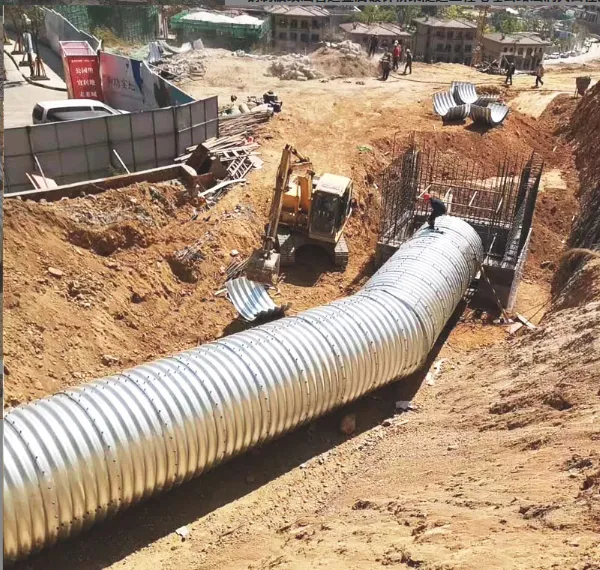
Hot Selling Galvanized 30 Corrugated Metal Pipe Cmp Culvert PipeUS$ 200 - 210MOQ: 100 Meters
-
Galvanized Corrugated Metal Pipe 20mm 3/4'' Armco Mp100 Steel Pipe Flexible Corrugated Tube Large DiameterUS$ 200 - 210MOQ: 100 Meters
-
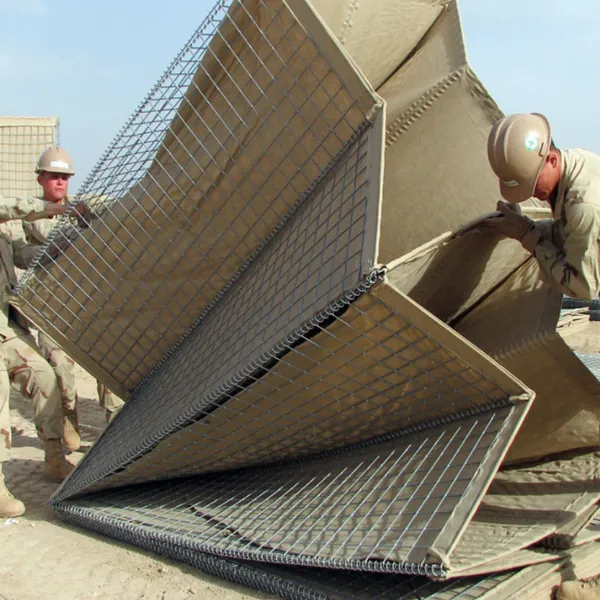
Hesco Bastion Galvanized Barrier Welded Barriers for Bastion Sand Recover Geotextile BastionUS$ 6 - 7MOQ: 100 Cases
-
Customizable Culvert Pipe Oval Shaped Steel Road Cheap 36 Inch Corrugated Metal Pipe PriceUS$ 200 - 210MOQ: 100 Meters